 Description:
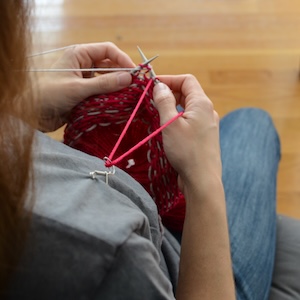
Learn how to knit Portuguese style!
Because Portuguese knitting is more efficient and easier on your joints, it can help reduce strain and fatigue. In this style of knitting, the yarn is tensioned either around the neck or using a knitting pin. This unique method of tensioning the yarn allows both knit and purl stitches to be created with a simple flick of the thumb.
In this workshop, you’ll learn the basics of Portuguese Knitting, and then use your new skills to learn stranded colorwork. Portuguese Knitting makes it easier to control the tension of your floats, making for easy stranded knitting.
Electronic handout, which includes pattern for Souhegan River Cowl, (will be emailed approximately two weeks before Yarnover)
 Description:
Come learn how to steek your knits! It’s not that scary, we promise.
In this workshop, you will learn how to create a crochet reinforcement for your steek and how to cut your steek. You’ll also learn how to pick up stitches for a button band, and how to always pick up the perfect button band – no more guessing how to space out your stitches!
As a finishing touch, you’ll learn how to hand-stitch a ribbon to the inside of your steek.
Electronic Finish Like a Pro: Steeks and Buttonbands handout (handout will be emailed approximately two weeks before Yarnover)
Our spinning demonstrations are sponsored by Get Bentz Farm.
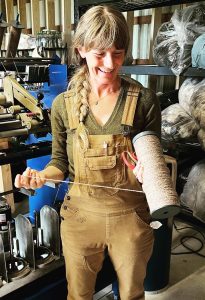 After growing up in the city and suburbs, the owners of Get Bentz Farm felt a need to be closer to nature and to be more connected to where their food came from.
In 2014, they found a farm house for sale and later that year they decided on and purchased their first two Icelandic sheep.
Once they had a good size flock they began marketing the amazing meat and wool. Initially, they found that many mills in the area do not process dual coated long wools, which slowed down their growth in yarn, but they did find a great market for wool filled bedding products and batting for spinning.
Today, they have a variety of yarns, batting and roving as well as finished products like dryer balls, sheepskins, and wool bedding. Most recently, they opened their own Get Bentz Wool Mill as well as their own line of yarn – Badgerface Fiber.